Monday 31 October 2011

Meet my new dogs....

I hope you all had a great weekend, I did, I found time to finish a project I've had going on for a while. My youngest dog is partial to cushions so I have been delaying this. We are now down to just one cushion on the sofa as Miss Luna eats them! Here are our new additions......

Meet Billy the Dachshund and Tilly the Cocker Spaniel!

 
The cushions are made from very neutral fabrics, the photo make them look white but I have made them from a variety of cream scraps. I have pieced a patchwork background from four squares which is then cut up and random strips of fabric added to create a frame for the dogs to sit on.

The dogs are appliqued on to the the patchwork cushions using embroidery threads and a button hole stitch.

Meet my new doggies.....


New members of the pack.....

I hope you all had a great weekend, I found time to finish a project I have had going on for a while. My youngest dog is partial to cushions so I have been delaying this. We are now down to just one cushion on the sofa so here are our new additions...... Meet Billy the Dashound and Tilly the Cocker Spaniel!


Monday 24 October 2011

More Pretty Paper Party......

I'm slowly keeping up with Shimelle's online class Pretty Paper Party. Prompt 3 sets a challenge of creating scrapbook pages without knowing what the photographs are. I love this idea as I always start with a photograph. The picture above shows my colletion of paper. The challenge asks you to select:
  • 5 small one colour prints
  • 3 small multi oloured prints
  • 2 large multi colour prints suitable for cutting
  • 1 multi coloured stripe to pull it all together.
Now the hard part starts, Ive got to cut into the paper to make six different layouts......

Here is my layout from the second prompt. Shimelle challenged us to start with a patterned background rather than using a plain card stock.
 
Why dont you come and join the Party here?
Posted by Picasa

Sunday 23 October 2011

Saturday's Patchwork Class......

 
(Anne's quilt)
Saturday was the regular patchwork class at the Craft Den. The ladies have nearly finished their 1st quilt. We were finishing the piecing of the patchwork top. Then everyone layered the quilt in the afternoon. It was great everyone helped each other to pin the layer together ready for quilting.


Betty ironing her quilt!

(Wendy's quilt)

(Sandra's quilt)

Next month we will be looking at the quilting design and the binding to complete the quilt, thanks for a great day girls xx
Posted by Picasa

Wednesday 19 October 2011

Shimelle's Pretty Paper Party......


Above (my favorite stash of paper)


Ive signed up for Shimelle's Pretty Paper Party, Im so excited! Here is Shimelle's introduction....."This party isn’t quite like the average celebratory get-together. For starters, it’s four weeks long, making it quite the party indeed! And rather than celebrate a birthday or another momentous occasion, this party is in honour of something each of us holds dear: paper."

As the party kicked off this week Shimelle asked us to take a moment to think about just what kind of paper person you might be. I'm definately.....

The Scrap Sorter: An inevitable part of papercrafting is the partial sheet. The off-cuts, the left-overs, the scraps. Call them what you will, but it’s rare that there are no extra pieces of paper on the desk once a project is finished. Now what to do with all those small pieces? Scrap Sorters are dedicated to keeping all these small pieces in case they come in handy for another project. The most advanced Scrap Sorters have intricate systems of filing these off-cuts by colour, pattern, size or manufacturer; other Scrap Sorters tend to place all these papers in one place without worry of further organisation. The merit of this philosophy is widely acknowledged as a strong return on the paper investment... but it can be overwhelming to find the scrapheap never stops growing. I think its the patchworker in me!
Here is my stash of 12 x 12 paper and below you can see how I store my smalller books of paper. I keep my scraps separate. I was inspired last night to have a tidy of all those scraps to make the first challange!
The challange was to use a number of strips from your scrap box so here goes....
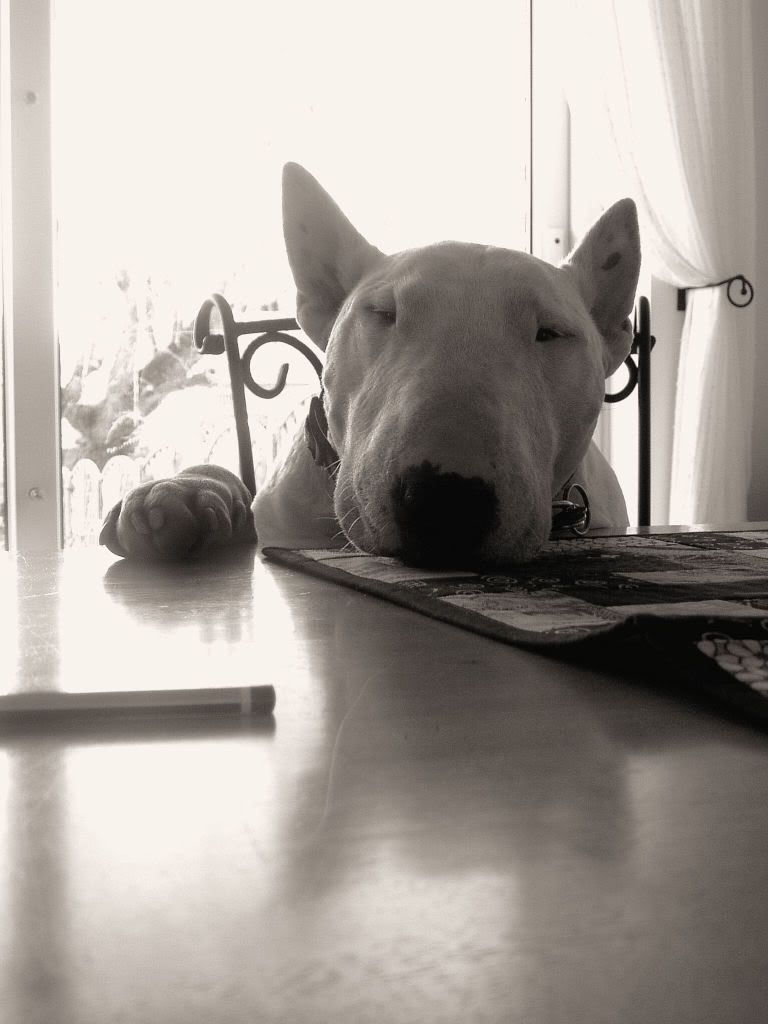
A close up of little old me in Torquay Marina.....
Posted by Picasa

Monday 17 October 2011

Japanese Patchwork......

At the weekend I attended my monthly sewing class, we had a visit from Katie from Japan Crafts. It was a great day we learnt how to make 2 different versions of Japanese folded patchwork. Katie provided all the lovely fabric. Ok so I couldnt resist buying a few more fat quarters. The photograph above shows the back of the hexagon version. The reverse side is on the photo below as it makes a stunning star design (right).

The other folded patchwork was made from a larger circle with a square in the centre. We hand sewed the pieces, which was very relaxing.  I forgot to mention, if you make lots of these folded patchwork units, it can be made into a bag....a girl can never have too many bags!!

In the afternoon we had a go at making  Kimekomi Japanese fabric balls using Christmas fabrics. All you need is a batch of pretty fabric scraps, a smooth Styrofoam ball, a few dabs of glue, and a length of cord or ribbon. You can complete the simplest patterns in about an hour.  At end of the day the ladies let me photograph their lovely work, wow.... we had been very productive!
I could not resist playing with this close up of the Temari balls, it would make a great Christmas card, unfortunately only one of these belong to me (below, right) the rest belong to Katie who showed us how to make 3 different designs.
Posted by Picasa

Wednesday 12 October 2011

WOWW.....

I have recently recieved my quilt back from being quilted on a long arm quilting machine by Rosemary from Frome Valley Quilting. The quilt is for my superking bed so it measure ove 90" square, which is a lot of quilt to put thro my little sewing machine hence why I sent it away to be quilted!

It was difficult to photograph for WOWW.....my sewing machine is under there, some where! I love the design Rosemary chose for my Amy Butler fabric. The fabric is very bold and busy so Rosemary has chosen a great design to complement it.

To finish the quilt I have decided to bind it in a lovely lime green to match the outer triangles. It is a mamoth job due to the weight of the quilt but it will be worth it in the coming winter months when it's on my bed!
See, I told you my sewing machine was under there......
I sew my quilt bindings on both front and back by machine, I use a folded method which gives nice sharp corners too!


I hope you have enjoyed seeing what's on my workdesk. Please share yours on http://stamping-ground.blogspot.com/
Posted by Picasa

Sunday 9 October 2011

Mini Modern Quilt.....

 
I've finally finished my mini quilt! I thought I would have another go using fleece as the backing and wadding. The fleece is very stretchy so you have to be really careful when quilting the layers together. Its gives a nive snuggly finish to the mini lap quilt though.
I couldn't resist adding this photo, Luna has just had a shower after our Sunday morning walk round Linacre Reservoirs. This is her favourite sleeping place......
I have used varigated quilting threads, in contrasting pink and orange. I wanted to make sure it was quilted heavily so I have sewn contrasting lines every couple of inches.


Here is the full layout, it measures 40" x 42"

A close up of the stitching!


Posted by Picasa